| Welcome to EDUCAUSE! Your organization has made an excellent decision by joining the largest community of IT leaders and professionals committed to advancing higher education—making you a member. |
| As a member, EDUCAUSE can help you: |
| • Predict, plan for, and act on the latest trends by accessing cutting-edge research, data, tools, and publications • Make connections by discussing your challenges and best practices with peers • Advance your knowledge and career by participating in training and professional development for a wide range of topics and career levels |
| To help you get the most out of your membership, we’ve created an orientation program that provides you with key resources that you can start leveraging today. |
| Member Orientation Paths The paths below offer you tools and resources to make your job easier and help you advance your career. We’ve created one page that’s quick and easy to use, with content curated for your area of interest. Each path also provides you with our 5 Key Resources to set you up for success. Security and Privacy IT Leaders IT Professionals Teaching and Learning Don’t Put Me in a Box |
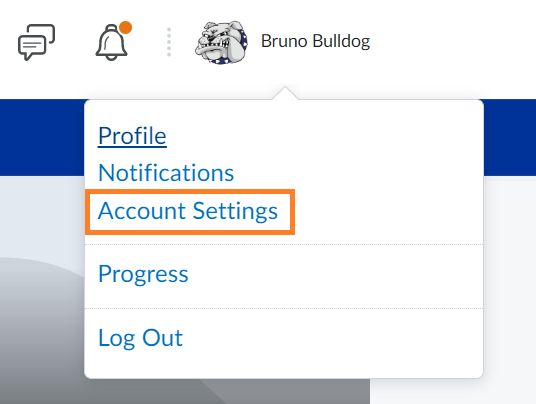
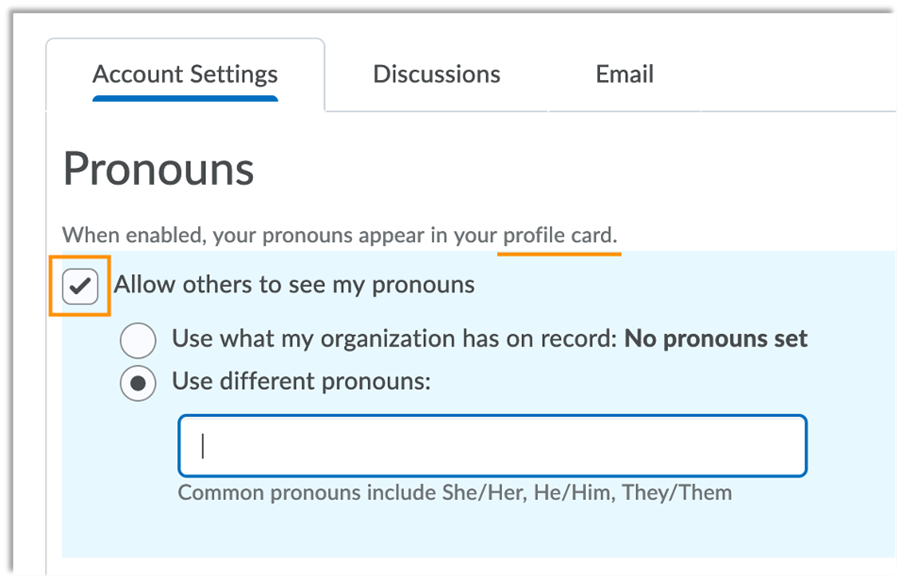
Ready to get started? Use your SSC email address to create your profile!