When teaching a combined section course, there may be times when an instructor would like to release an assignment or quiz to a particular section of students. Releasing assignments and quizzes to sections have slightly different directions which are referenced below:
Assignment – Release an assignment to a particular section of students
Edit a current Assignment
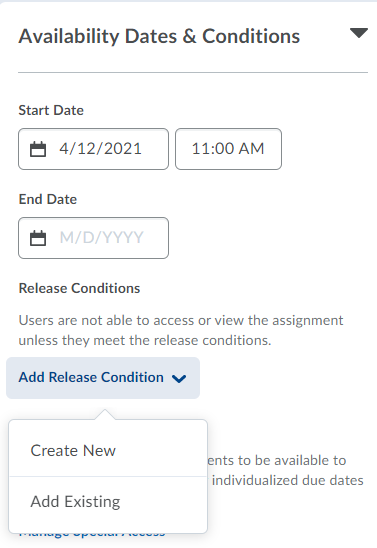
Select Availability Dates and Conditions
Under Release Conditions > Select Add a Release Condition
Select Create New
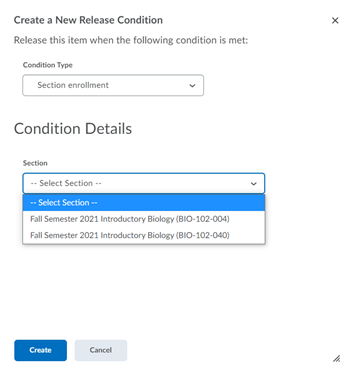
Under Condition Type > Select Section Enrollment
Under Condition Details > Select the Section and Create
Only students in that section can now access the assignment
Quiz – Release a quiz to a particular section of students
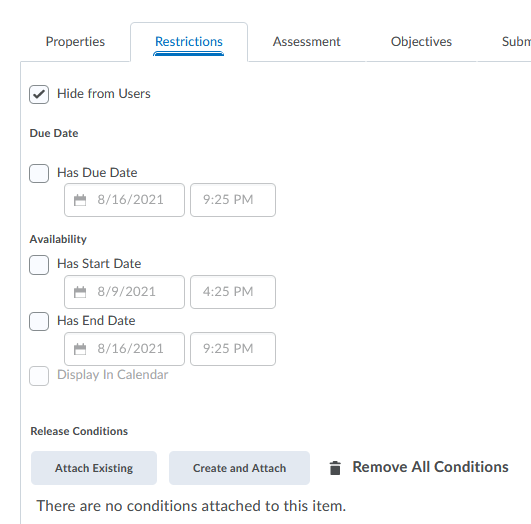
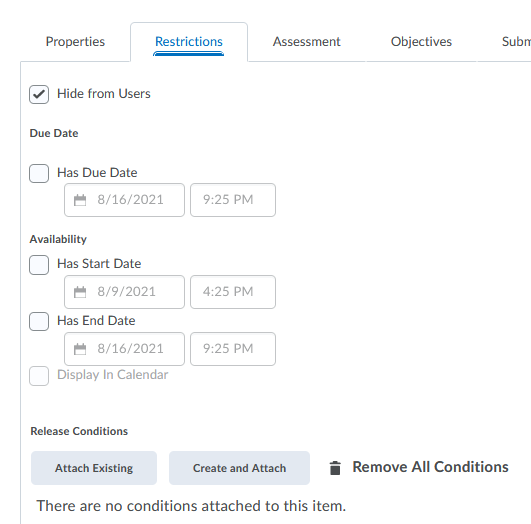
Edit a current Quiz > select Restrictions
Under Release Conditions > Select Create and Attach
Under Condition Type > Select Section Enrollment
Under Condition Details > Select the Section and Create
Only students in that section can now access the quiz
There may be times when an instructor would like to release a quiz to a particular group of students. For example, an instructor may have a group project as part of an assignment and would like to release an assignment or quiz to just that particular group.
The first step is creating student groups and enrolling students into that group. The next step includes adding restrictions to a quiz or assignment based on the group.
Step 1: Create Groups in child shell course (combined section)
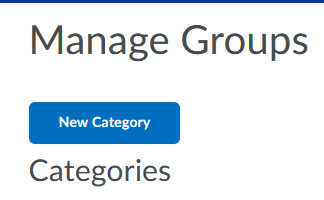
Go to Course Tools > Groups > New Category
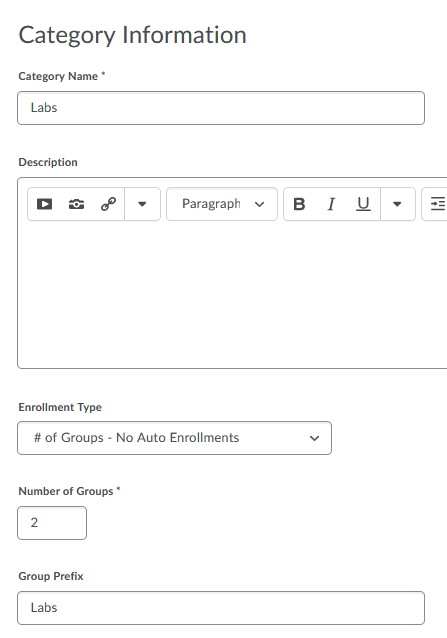
Provide a Category Name, such as Labs
Enrollment Type: Select # of Groups – No Auto Enrollment (this allows the instructor to manually enroll students into each group)
Select Number of Groups
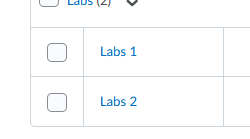
Provide Group Prefix. This name will appear before each group number (Labs 1, Labs 2)
Save
Step 2: Manually Enroll Students into each Group
Select the Group Name
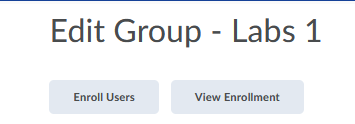
Select Enroll Users
Select the student names
Save
Step 3: Create a Restriction for the Quiz based on Groups
Edit the current Quiz > select Restrictions
Under Release Conditions > Select Create and Attach
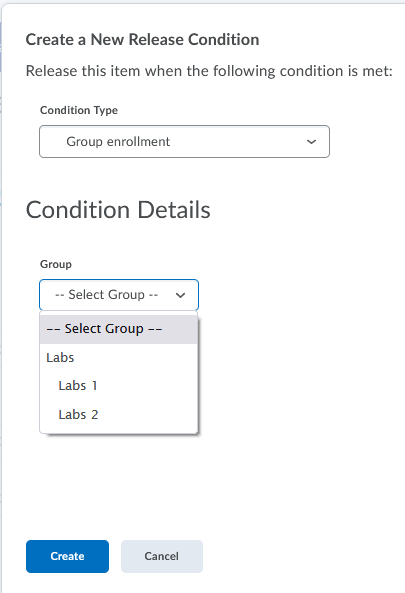
Under Condition Type > Select Group Enrollment
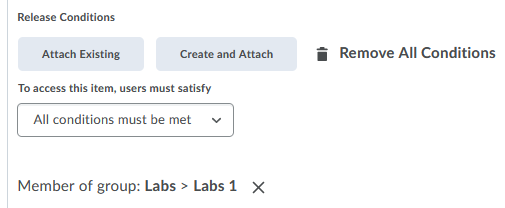
Select the Group that the quiz should be release to
Classrooms upgraded for simulcast delivery include a webcam, a second Epson projector, and a projection screen. The second projector and screen (located in the back of the room) can be used to view your virtual classroom students. Virtual classroom students will be able to view your webcam, anything you screen share and communicate with you through chat or audio.
Before Your Class Begins
Log on to the Teacher’s Workstation with your SSC Network Credentials
Turn on the Front Projector, and then the Rear Projector
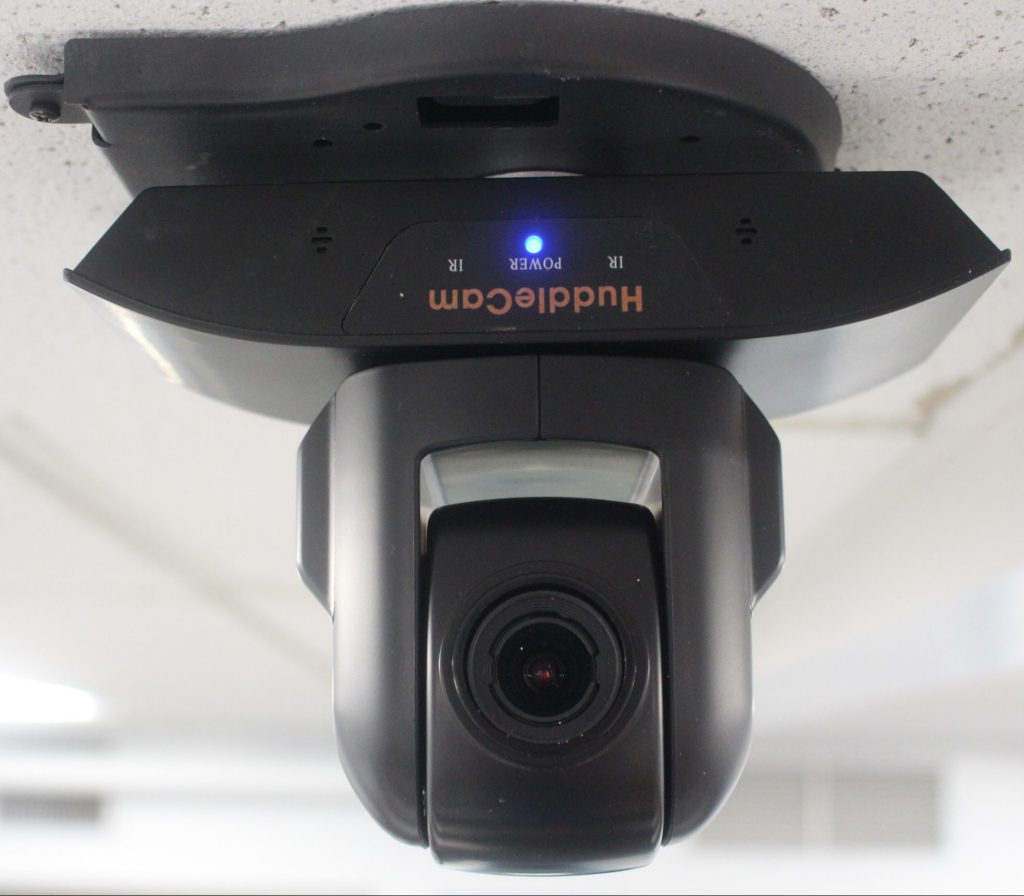
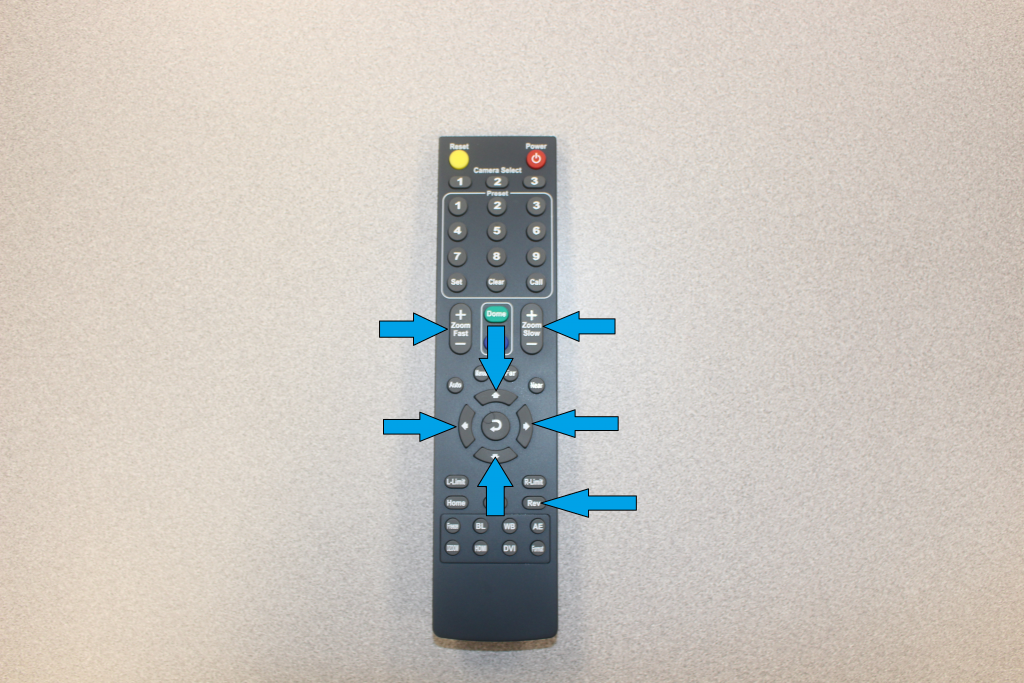
A webcam has been installed to allow remote learners a view of the classroom. It is positioned so that it can capture not just the instructor, but also any information presented on the dry-erase board in the front of the classroom. The Webcam is on if the blue light is visible as in the photo above. If there are no lights visible on the camera, press the power button on the webcam remote as pictured below.
WEBCAM REMOTE CONTROL
Using the Webcam Remote Control
The left/right arrows move the webcam left and right
The up/down arrows tilt the webcam
The zoom fast/slow buttons control the webcam zoom feature
The auto button can be used to automatically focus the webcam
If by chance the image displayed by the webcam is upside down, press the ‘REV’ button, this will right your image.
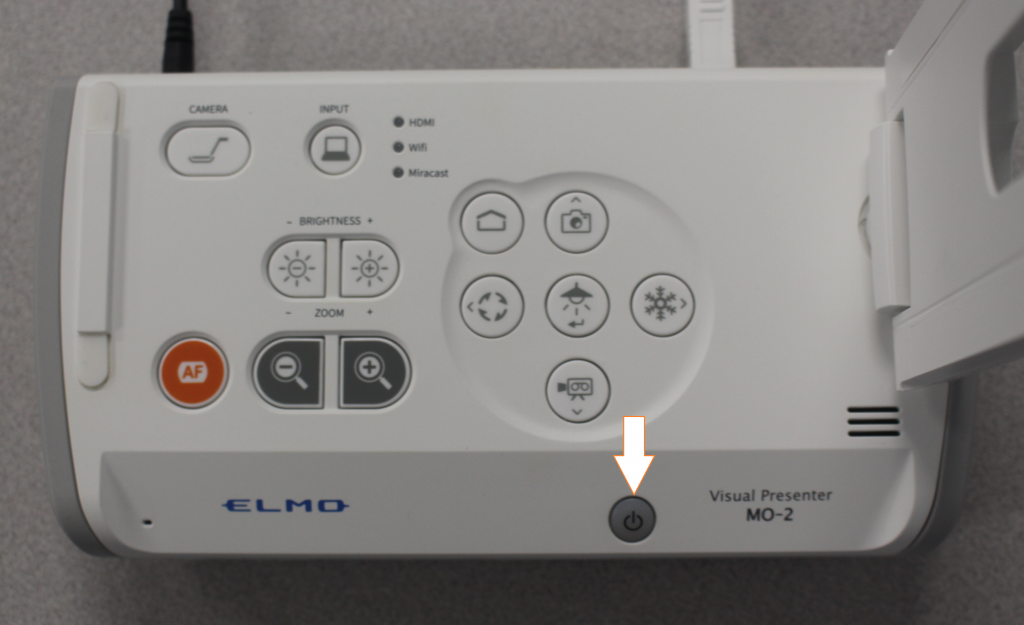
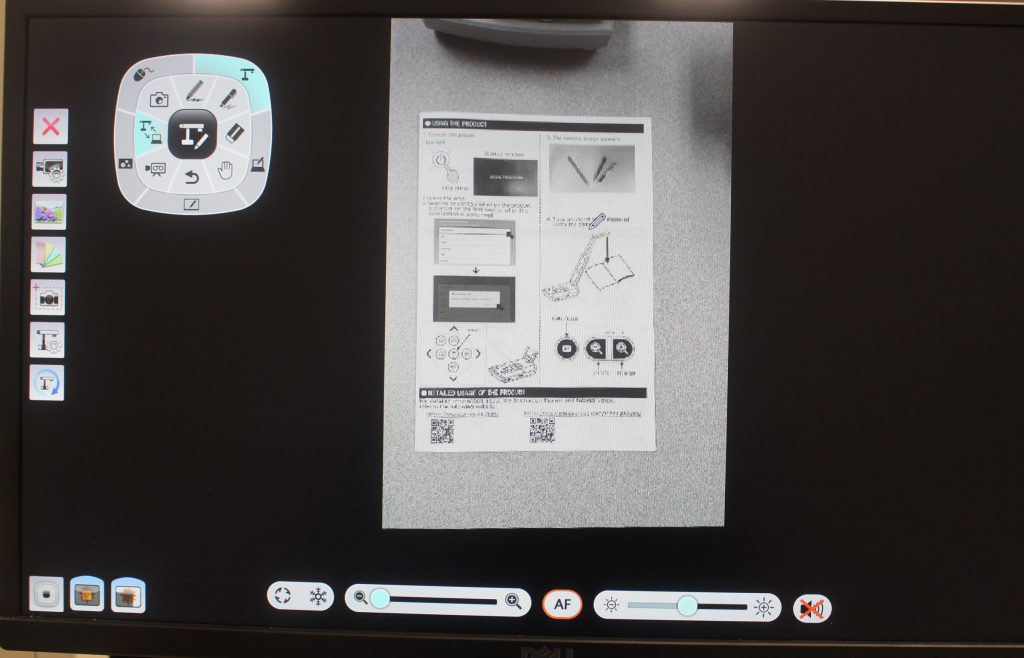
Step 1: Turn on (Blue Light Comes On) the Elmo Document Camera Power
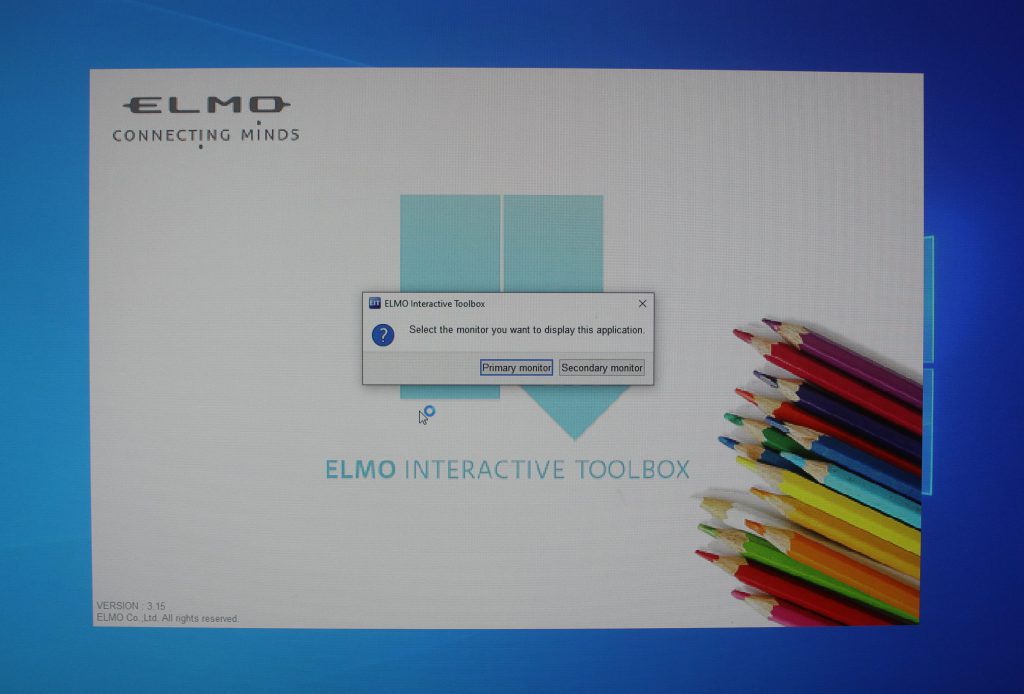
Step 2: Select ‘EIT ICON’ Shortcut on Teachers Workstation.
Step 3: Select ‘Primary Display’ to display the image on Teachers Workstation or Select ‘Secondary Display’ to display the image on Projector Display Screen.
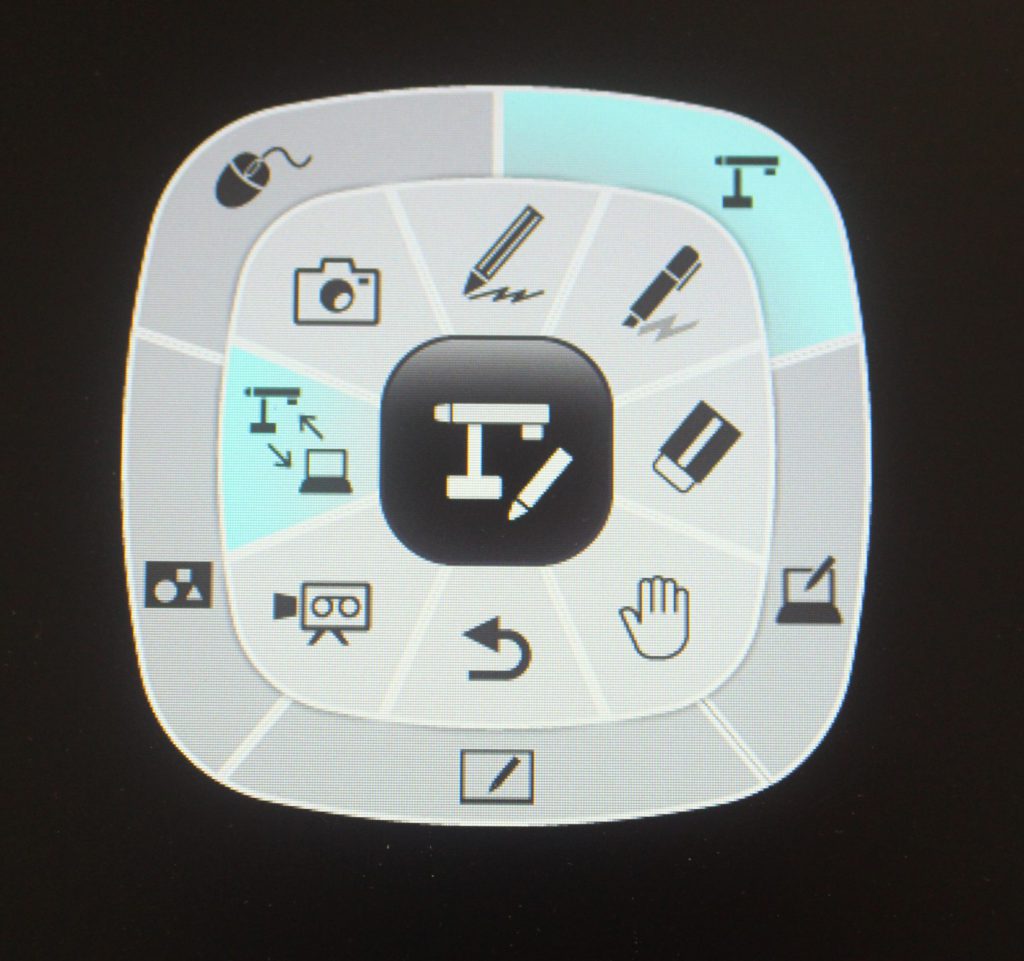
Step 4: Users can use the ‘Pen Feature’ within the EIT Program to mark or edit what is being displayed.
THIS IS AN EXAMPLE OF FULL-SCREEN OPTIONS WHEN USING THE EIT PROGRAM INCLUDING SAMPLE IMAGE DISPLAYED THROUGH DOCUMENT CAMERA.
Step 5: Once you are finished with the unit, make sure you turn the document camera off. (NO Lights on the unit)
If your students report that they cannot see their total points in the gradebook in D2L, this usually means that their final calculated grade has not been released. There are two ways to fix this issue and release their grades. See the following document for a step by step guide to releasing the final calculated grade in your D2L courses.
The following link will take you to the Brightspace Help section that details how to create grade items in your gradebook. Hopefully you will find this a useful resource when working with your own gradebook.
Are you using a grade scheme other than the traditional 90/80/70% scale commonly used? If so, check out this short tutorial from Brightspace on how to set up your own grading scheme.
If you have a student that needs access to your course from a previous semester, please contact SSC Online with the course, section, and student information. Ask that the role of “Incomplete Student” be assigned to the student for that particular course.
Please be advised students with the role of “Incomplete Student” will continue to have access to the course until such time that you ask that their role be changed back to “Learner”.
If you had dates on the assignments they need to submit you should be able to assign “View Content that is Not Released” or add a new date for just that student as a Release Condition.