There are times when instructors may want to share their course content with another instructor or create a backup of their course for future reference. This is done by exporting your D2L course as a Brightspace course package (zip). This package (zip) can then be shared with another instructor to import into their course or saved in a secure location as a course backup.
Step 1: Export your course as a Brightspace package
- In your D2L course, go to the Course Tools > Course Admin.
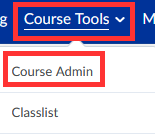
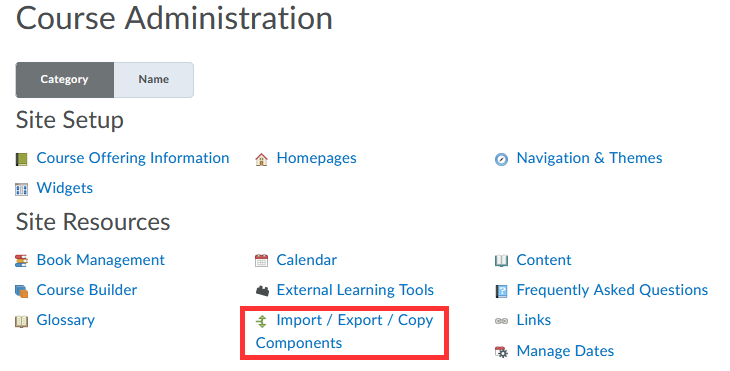
- Select Import/Export/Copy Components.
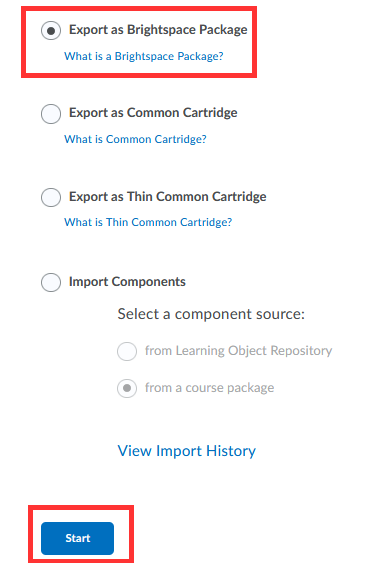
- Select Export as Brightspace Package > Start.
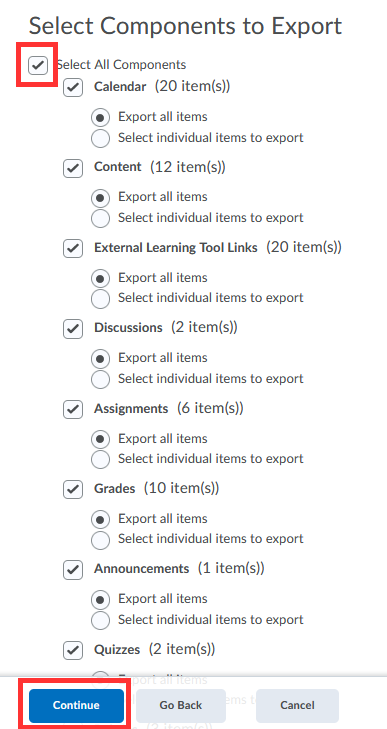
- Select Components to Export > Continue.
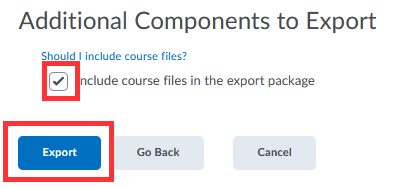
- Important! – Under Additional Components to Export, select Include course files in the export package > Export.
- The Export will start. You’ll be notified on the Updates Alerts icon in D2L when the export is ready to download (orange dot indicates new notification).

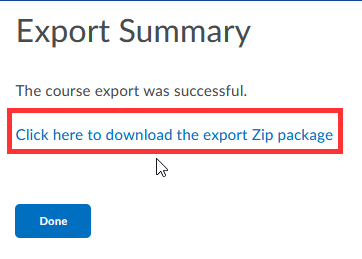
- Select Export Finished in the Updates Alerts to download the Export Package (zip).

- Click to download the Export Package (zip).
- Save zip file to a secure location.
- Send this zip file to the instructor you are sharing your course with.
- That instructor will now go to Step 2 for directions to import the zip file into their course.
Step 2: Import the Zip file into a new D2L course
- In your D2L course, go to the Course Tools > Course Admin.
- Select Import/Export/Copy Components.
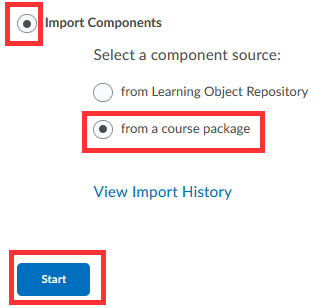
- Select Import Components from a course package > Start.
- Under Import Course Package, select Upload then browse to the zip file shared with you.
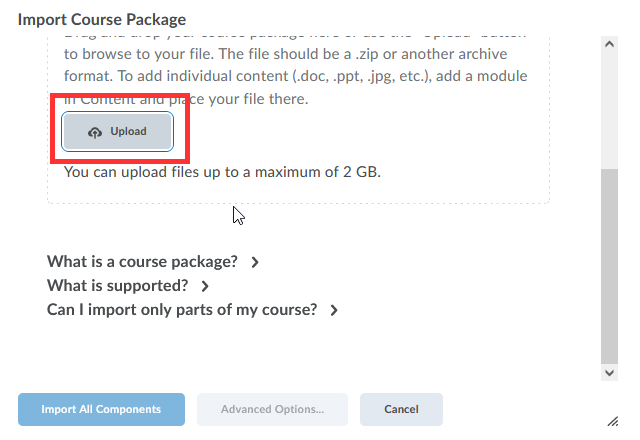
- When the file upload is complete, select Import All Components.
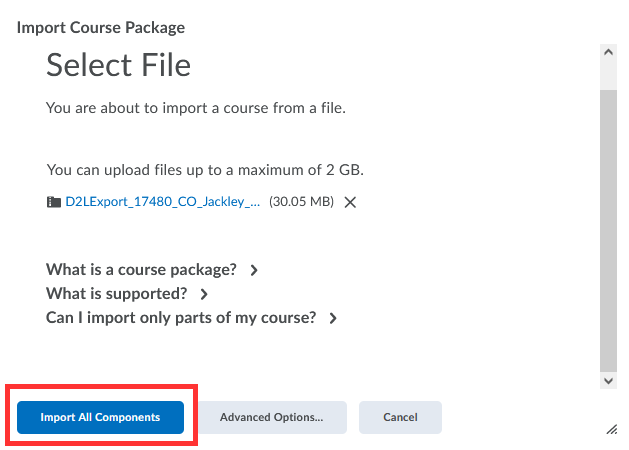
- Based on the size of the course content being imported, this process may take a few minutes. When complete, select View Content.

Once the course is imported, there are a few cleanup items you will need to check:
- Syllabus: If your course has a Word document has a syllabus, delete it. SSC now uses Simple Syllabus instead of Word documents. Click on My Syllabus in the menu bar to update your syllabus.
- Announcements: delete any old announcements that was in the previous course (Course Tools > Course Admin > Announcements).
- Modules: Review the content within the weekly modules to determine if content is in the proper order and is visible to students. Hide or delete any content you do not wish to use.
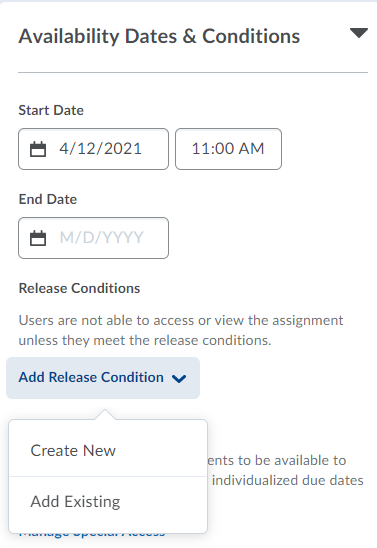
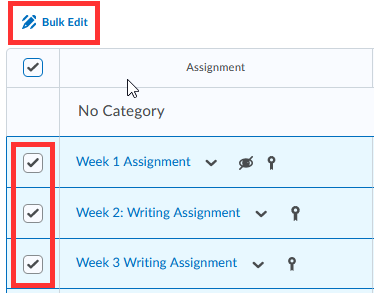
- Assignments: Review and edit assignments. Double check the scores of each assignment to make sure they match with your syllabus. You can also change due dates individually or bulk edit to change due dates for all assignments.

- Discussions and Quizzes: Just like with assignments, edit dates, scores and review content within the discussion forums and quiz questions.
- Grades: Select Grades > Manage Grades to determine if the gradebook is set up properly and matches with your new syllabus.
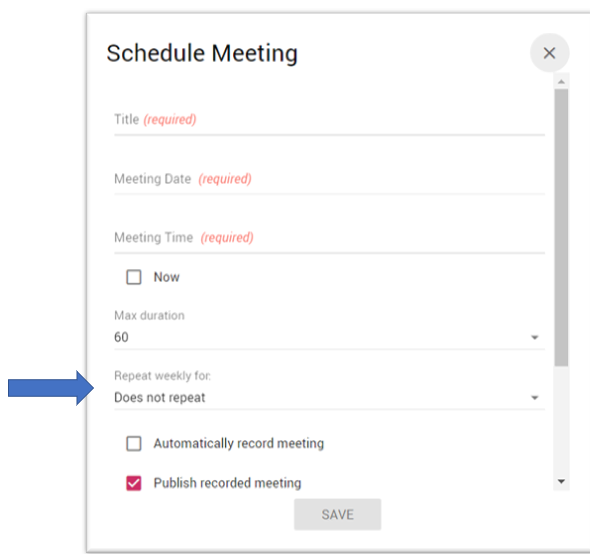
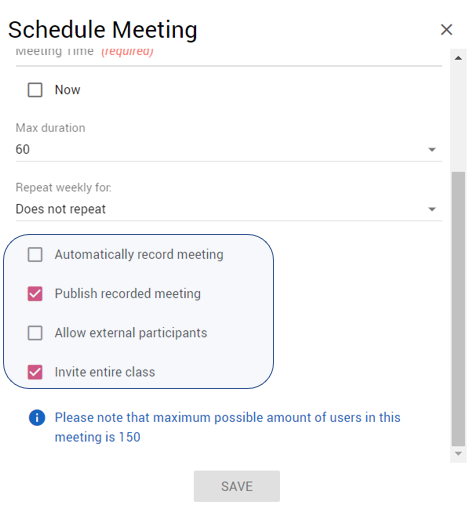
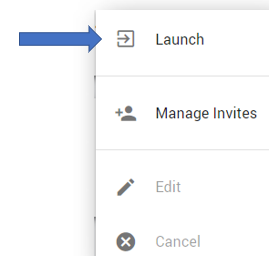
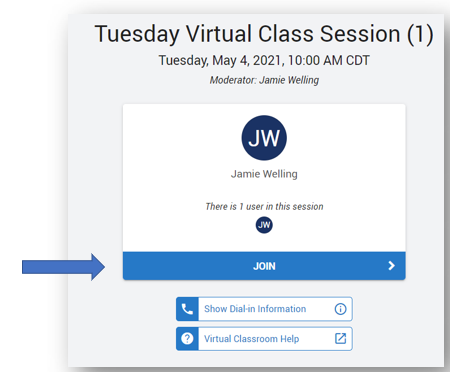
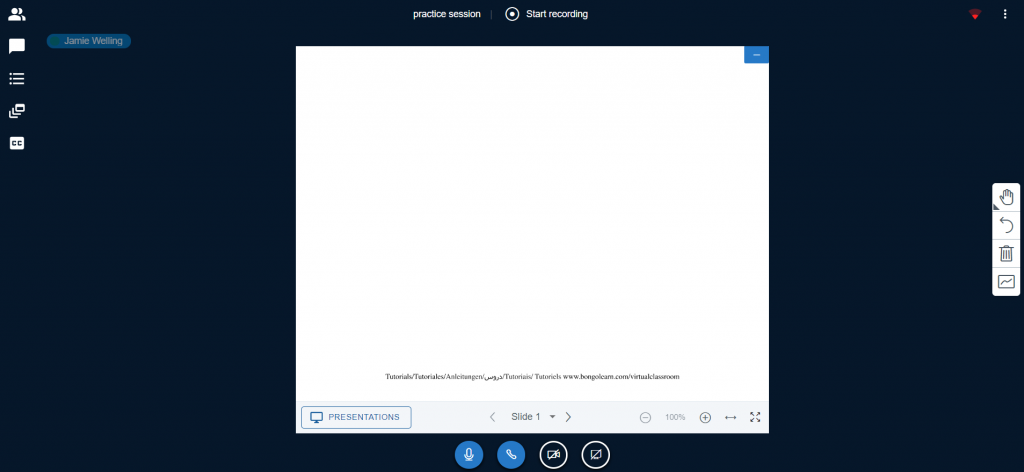
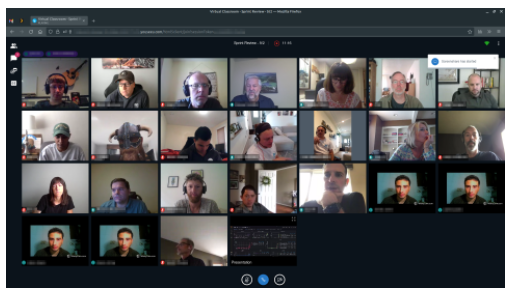
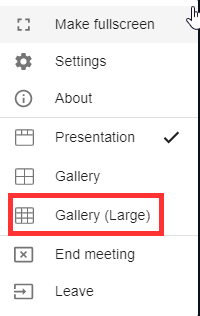
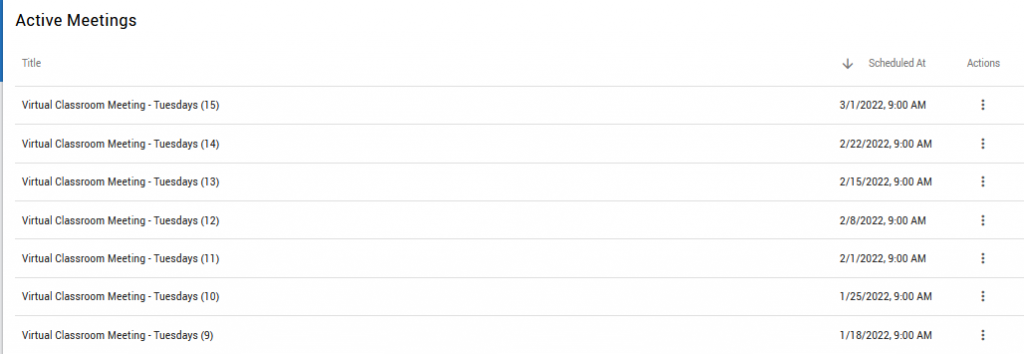
- Dual Delivery Course? If teaching a dual delivery course, set up your virtual classroom meeting dates in advance. Select Virtual Classroom > Plus sign (lower right hand) to repeating virtual meeting dates.


If you have any questions or need further assistance, please feel free to contact the Teaching and Learning Center team by emailing: ssconline@ssc.edu.