Method 1: D2L Media Library
You can create directly in the media library, then place video in a course.
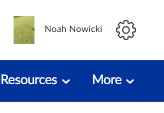
Access your Media Library by:
- Click on the settings cog wheel at the top right of your D2L homepage:
- Find the Media Library option:
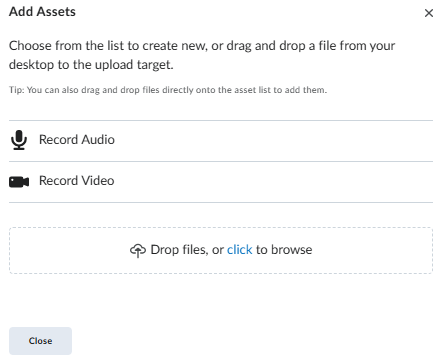
Select the Add Assets option, there you can either record video, record audio, or upload a pre-existing video file that will be placed into the Media Library.
Another way to add video is to add a new module in your course or select an already designed module within your course and add a video note.
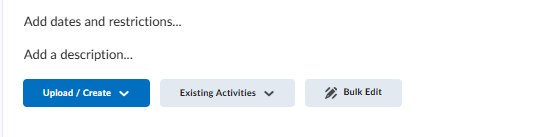
Click on the desired module and then click on the Upload/Create: Create a file

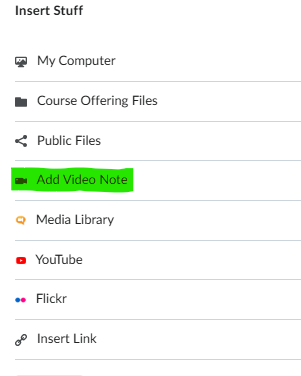
Inside the text box there is an ‘INSERT STUFF’ icon as shown below. By selecting this icon the menu will show a Video Note selection, click on Video Note.

Please note the video recording in this mode has a 30 minute time limit.
Method 2: Use a Teams Meeting to Record Video
Log in to office.com and go to the Teams app
Go to the Calendar and set up a new meeting:

After you fill out the requirements for the meeting it will show up on your Teams Calendar. Double Click on the meeting and select Join the meeting now.
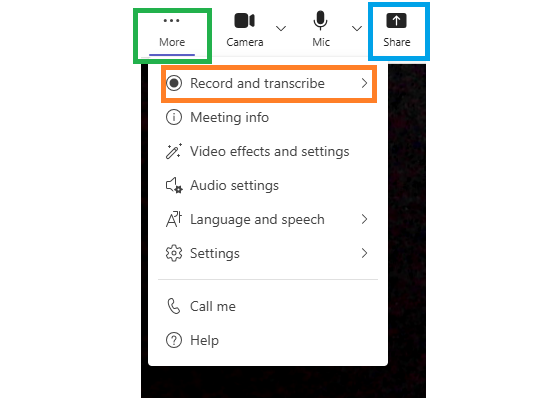
1- More
2- Record
3- Share
When you are finished stop recording, then just leave the meeting.
Now it is time to find your recorded video, it is only a few small steps.
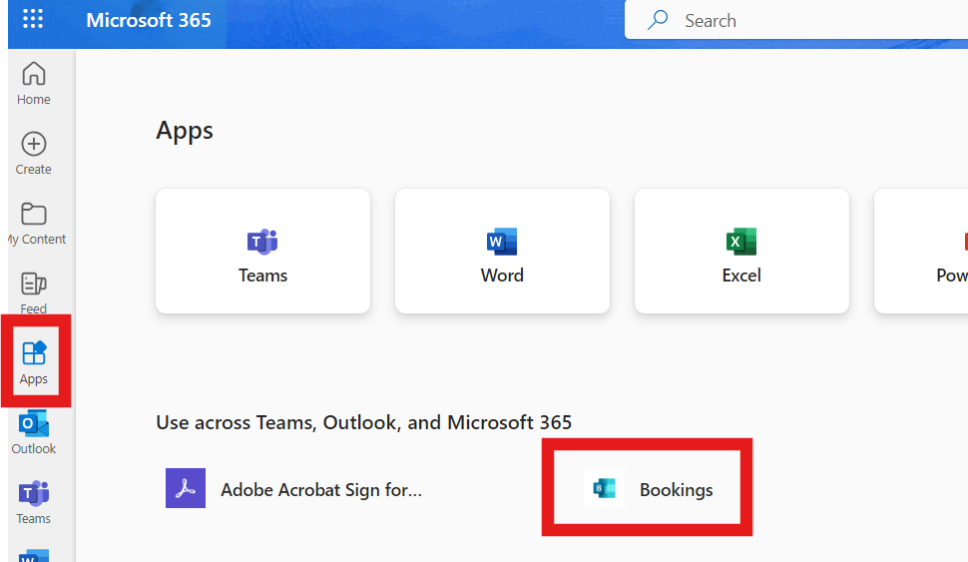
- Log in to office.com
- Find where your apps are listed.
- Look for the STREAM APP
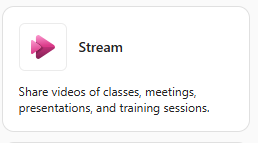
- Your Teams recording will be in this application, in MP4 format.
- Select Download
Go into D2L an upload the video file.
- Select the module where you want to upload the video.
- Select Upload/Create option and select Video or Audio.
- Select Upload and browse to the Teams video file.
NOTE: Make sure you know where your video files or any files for that matter go when you save them on your device. [EX: Downloads folder, pictures folder, etc.]
Method 3: Clipchamp
Clipchamp is an advanced video editing tool that is part of Office.com
Take a look at the Clipchamp web site to learn more about online recording tools.