The directions below demonstrate how to schedule and launch a Virtual Classroom Bongo session for your students in D2L.
To watch a recorded webinar on using Virtual Classroom, visit this site: https://www.youtube.com/watch?v=sjFULR9KNvA.
To attend a live online webinar, visit the Training Calendar above to register for a Virtual Classroom session.
Setting up a meeting:
1. Click on Virtual Classroom in the header of your D2L course home screen.
2. Click on the Plus sign located in the lower right corner of the screen.
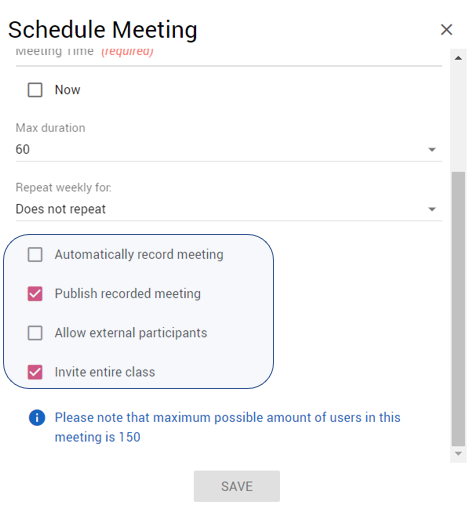
3. This brings up a new window where you will enter your meeting information.
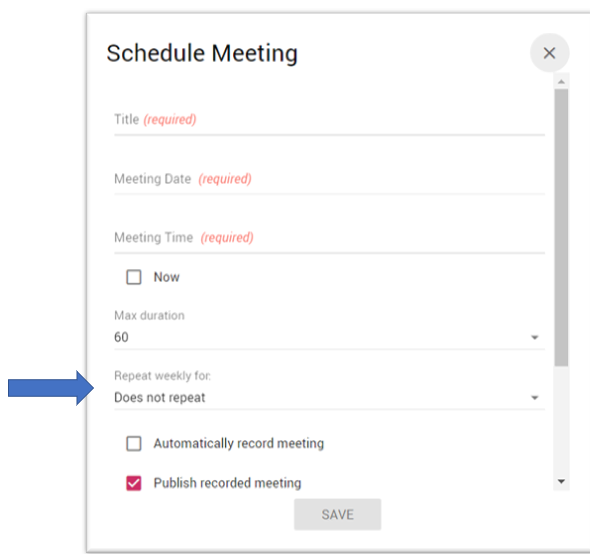
4. You can select “Repeat weekly for” in order to create multiple meetings for the semester
5. Further down in that window you have other options to select such as
- Publish recorded meeting
- Makes meeting recordings visible in the Virtual Classroom.
- Allow external participants
- Creates a link you can share with those outside the class.
- Invite entire class
- Will allow all students to see the meeting in the Virtual Classroom.
6. Select “SAVE”. Your scheduled meetings will now appear under “Active Meetings”.
Starting a Scheduled Meeting
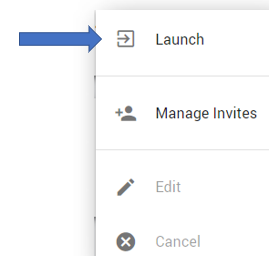
1. Find the meeting in the “Active Meetings” of the Virtual Classroom.
2. Click on the three dots under Actions and select “Launch”.
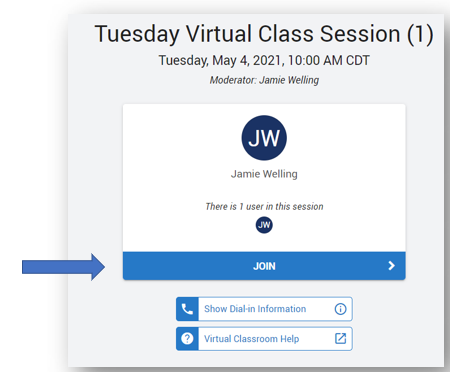
3. On the next screen select “JOIN”.
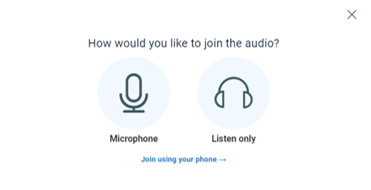
4. Select how you want to join the audio.
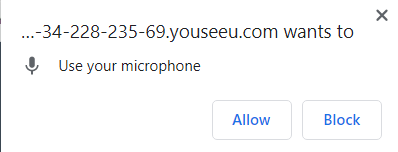
5. Make sure to allow BONGO to use your microphone.
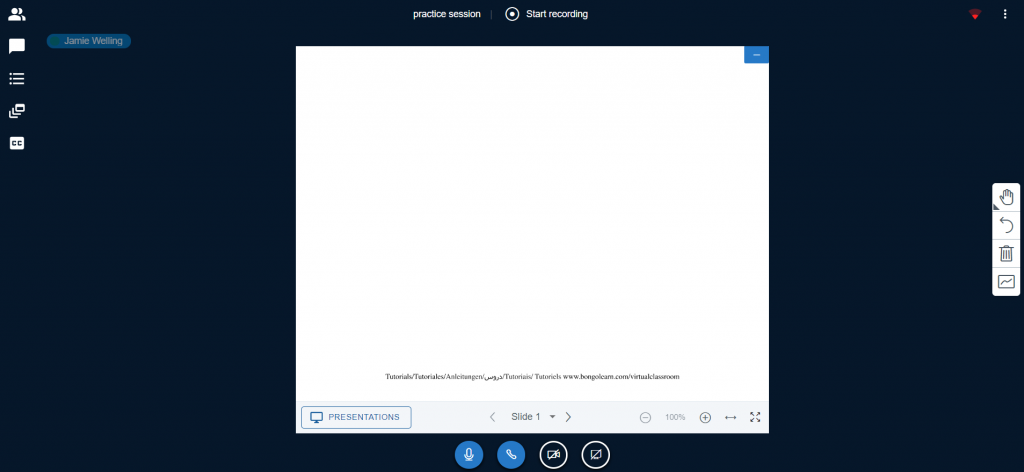
6. Here is what the active meeting screen will look like.
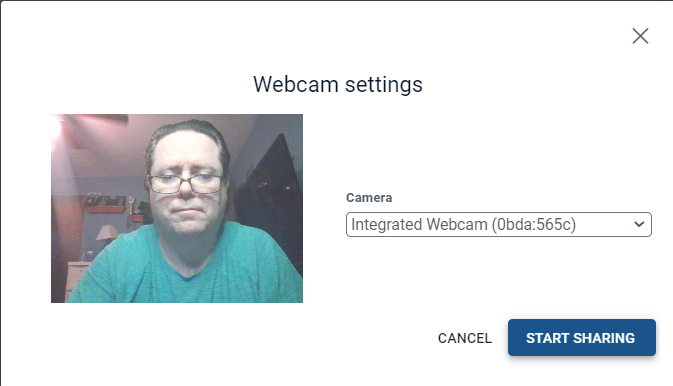
Sharing Your Webcam
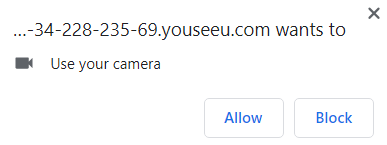
1. At the bottom of the active meeting screen, click on to share webcam.
2. Allow BONGO to use your camera.
3. Select the camera and click “Start Sharing”.
Sharing Your Screen
1. At the bottom of the active meeting screen, click the small screen icon to share your screen.
2. Next, choose what you want to share.
- Entire Screen
- Window
- A program such as Word or PowerPoint
- Web Browser Tab
- An open browser tab (Chrome in the example below)
3. To stop sharing click on the screen button.
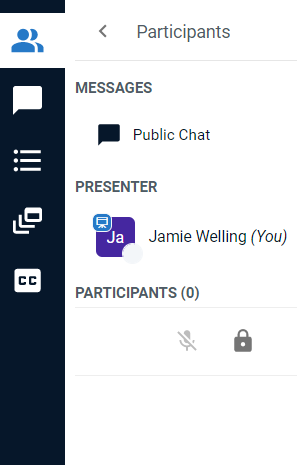
Participant List and Chat Tool
1. Access the participants by selecting the Participants tab.
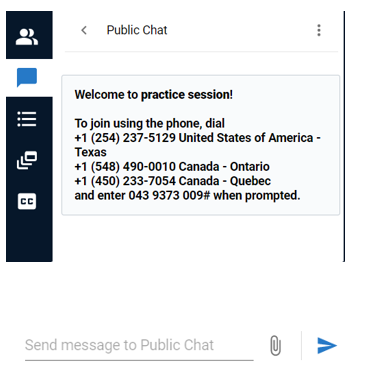
2. Access the chat tool by selecting this tab.
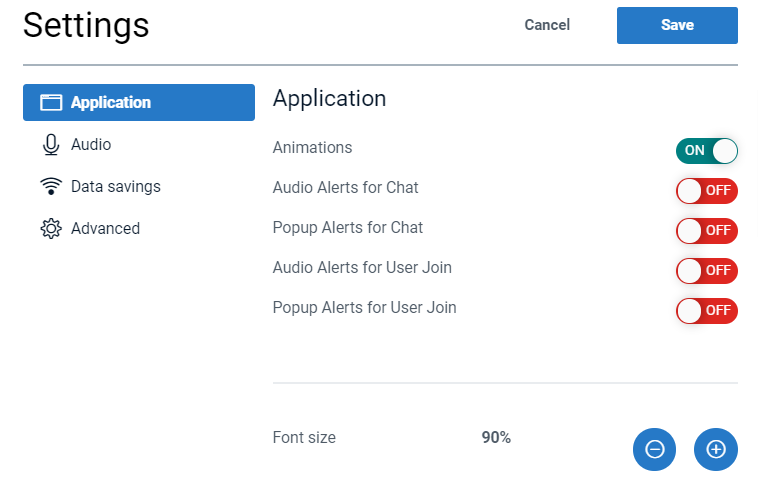
Adjusting Settings and Ending a Meeting
1. Click on the three dots located in the top right corner of the meeting screen.
2. Several options are available as shown below.
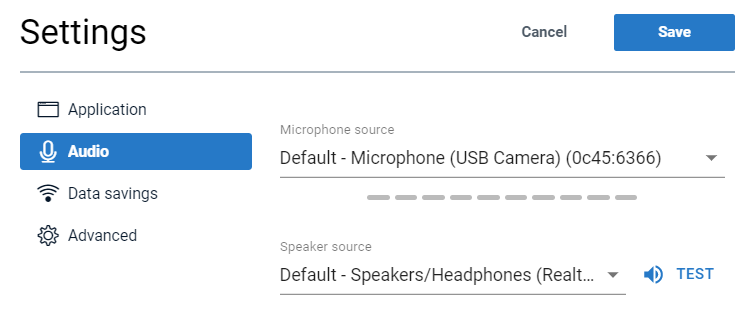
3. Click on “Settings” to adjust items such as….
OR
4. Click the End Meeting icon to end the class session for everyone.