
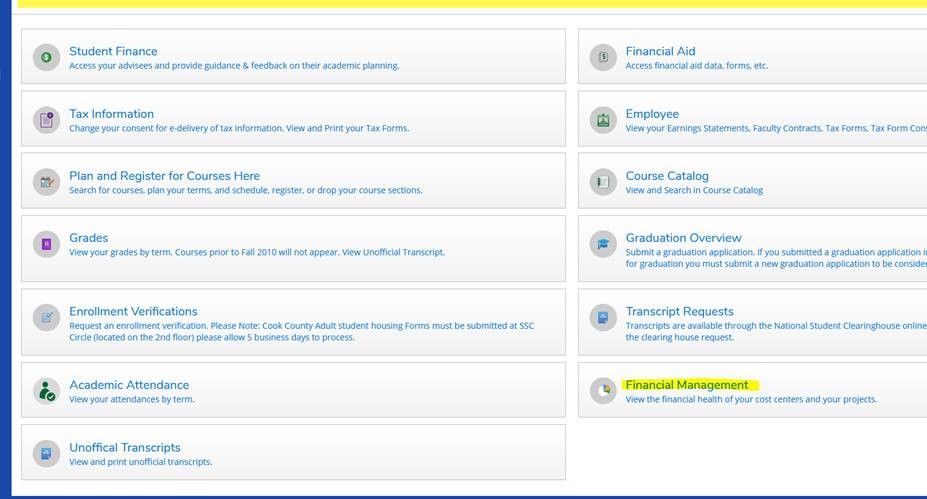
STEP ONE: Login to SSC Self-Service. Select “Financial Management” from the main menu.
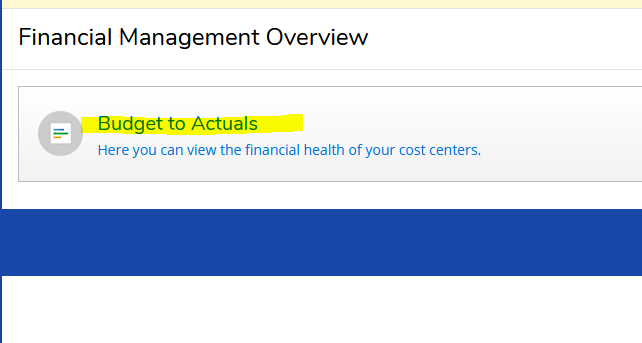
STEP TWO: Select “Budget to Actuals”
STEP THREE: Choose either “Bar Graph” or “List” view and the “Year” you would like to display across the top of the page.

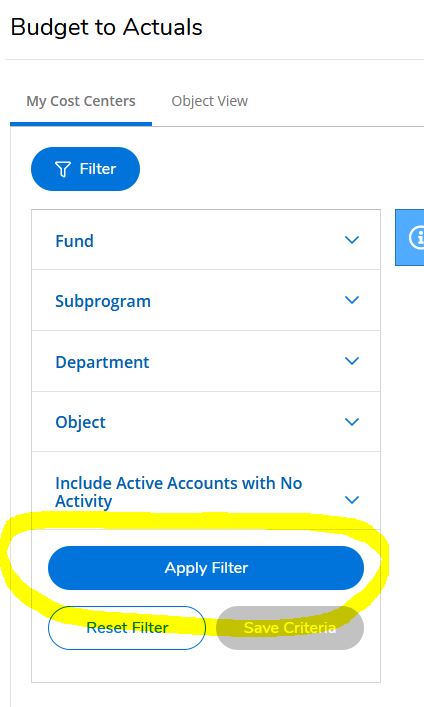
STEP FOUR: Select “Apply Filter” on the lower left side of the page to display all of your available accounts.
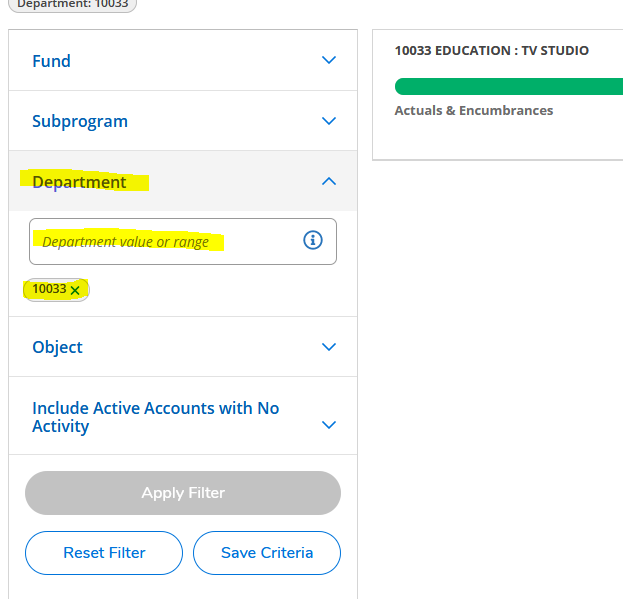
STEP FIVE (OPTIONAL): Enter Your Cost Center number in the “Department” field on the left side of the page to look at only one account and select “Apply Filter”.
STEP SIX: Select the account you would like to view for transactions.

STEP SEVEN: Select “Document” ID to view the details of the transaction.

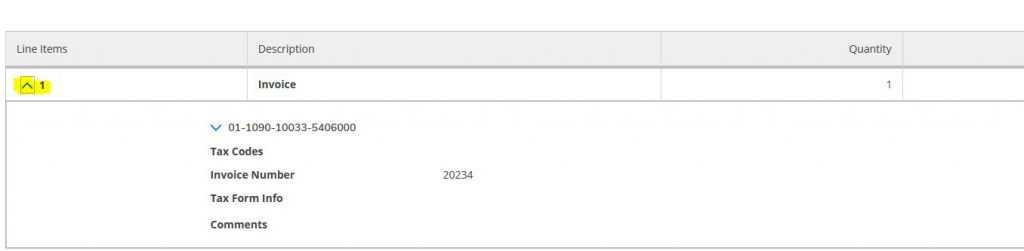
STEP EIGHT: Select the “Line Item” you would like to view in detail by selecting the arrow.
Please contact Lisa Santoro in the IT Department at ext. 2274 for further information.