You can create directly in the media library, then place video in a course.
Access your Media Library by:
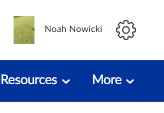
Click on the settings cog wheel at the top right of your D2L homepage:
Find the Media Library option:
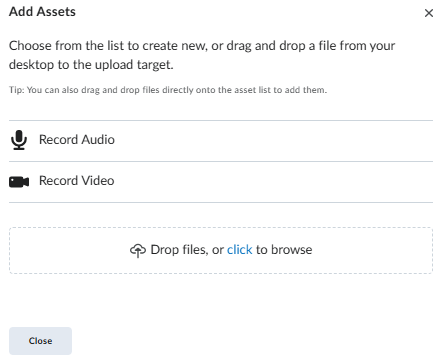
Select the Add Assets option, there you can either record video, record audio, or upload a pre-existing video file that will be placed into the Media Library.
Another way to add video is to add a new module in your course or select an already designed module within your course and add a video note.
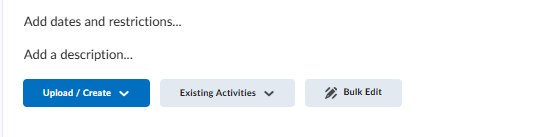
Click on the desired module and then click on the Upload/Create: Create a file
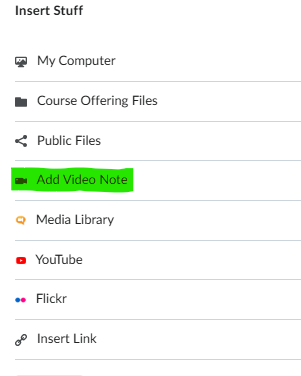
Inside the text box there is an ‘INSERT STUFF’ icon as shown below. By selecting this icon the menu will show a Video Note selection, click on Video Note.
Please note the video recording in this mode has a 30 minute time limit.
Method 2: Use a Teams Meeting to Record Video
Log in to office.com and go to the Teams app
Go to the Calendar and set up a new meeting:
After you fill out the requirements for the meeting it will show up on your Teams Calendar. Double Click on the meeting and select Join the meeting now.
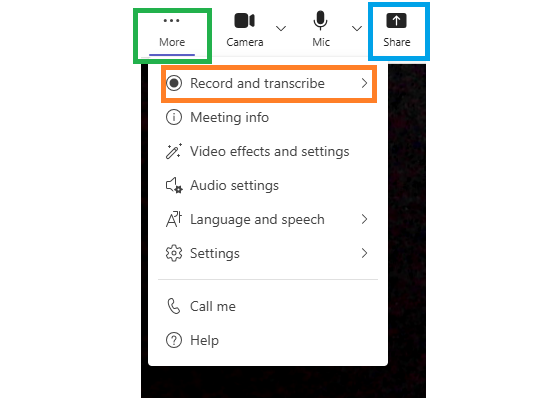
Share your Screen as you talk through your video recording
1- More
2- Record
3- Share
When you are finished stop recording, then just leave the meeting.
Now it is time to find your recorded video, it is only a few small steps.
Log in to office.com
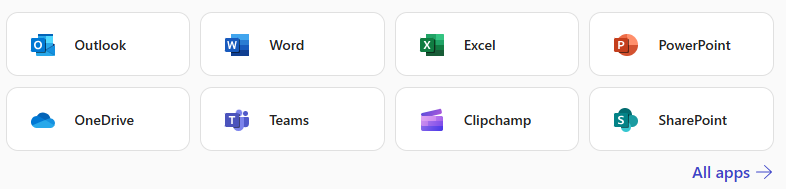
Find where your apps are listed.
Look for the STREAM APP
Your Teams recording will be in this application, in MP4 format.
Select Download
Go into D2L an upload the video file.
Select the module where you want to upload the video.
Select Upload/Create option and select Video or Audio.
Select Upload and browse to the Teams video file.
NOTE: Make sure you know where your video files or any files for that matter go when you save them on your device. [EX: Downloads folder, pictures folder, etc.]
Method 3: Clipchamp
Clipchamp is an advanced video editing tool that is part of Office.com
Take a look at the Clipchamp web site to learn more about online recording tools.
On the blue navigation bar, on the far right click on ‘more’ drop down menu and click on ‘ATTENDANCE’
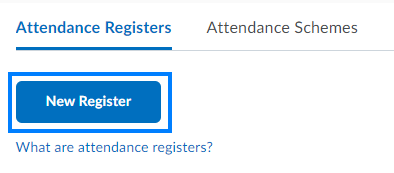
Click New Register
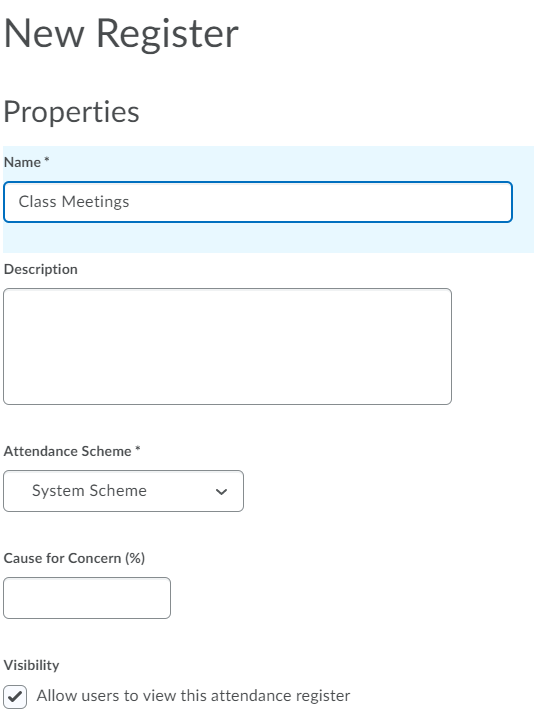
Enter the Name of the attendance register and other optional properties as needed
NOTE: Students are able to see these attendance registers from your course in Brightspace from the Course Tools menu unless the visibility setting is unchecked.
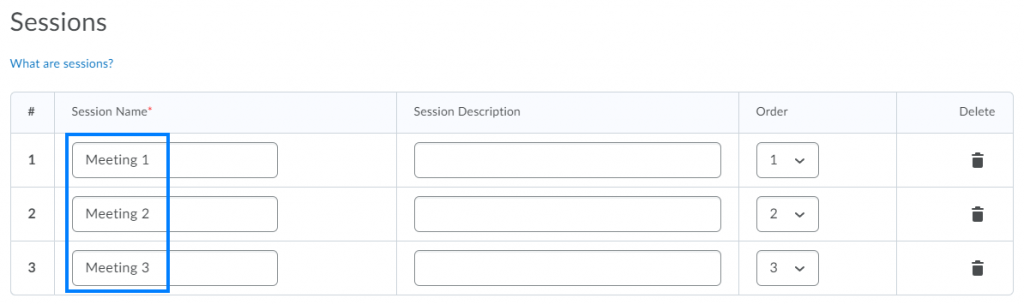
Enter a session name: This example uses attendance for Class Meetings.
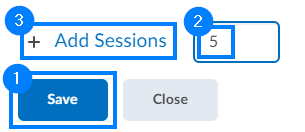
To add additional sessions to the register, click SAVE, enter the number of sessions to be added, and click ADD SESSIONS.
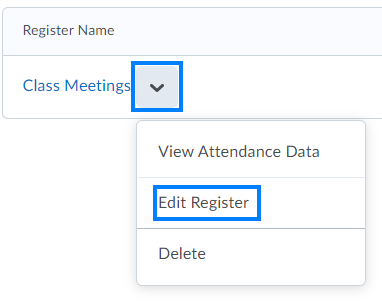
To return and add or remove sessions at a later time, click the drop-down icon to the right of the register and select EDIT REGISTER from the drop-down.
ENTER ATTENDANCE:
From ‘MORE’ on the navigation bar, Click Attendance:
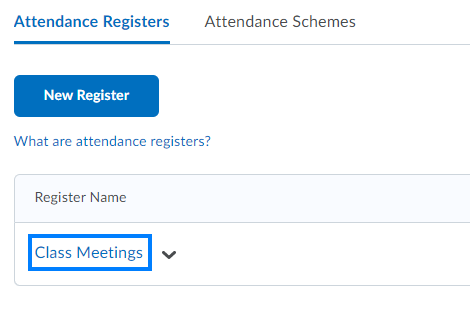
Click the name of register.
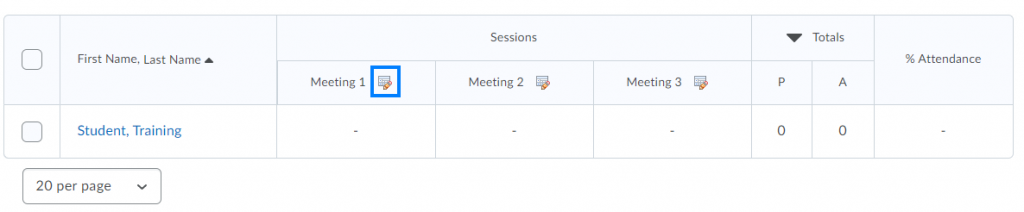
Click the Calendar icon beside session to enter the attendance:
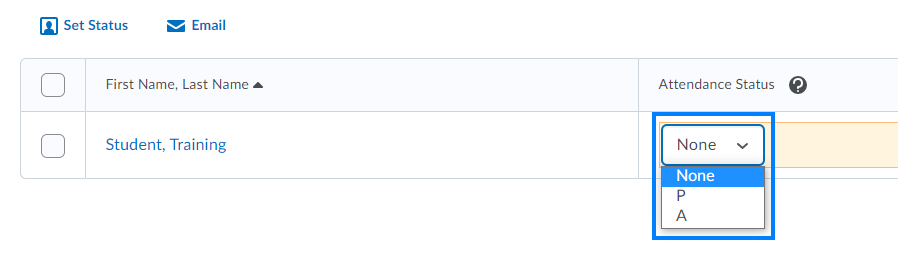
Click the Attendance Status drop-down to set each student’s status:
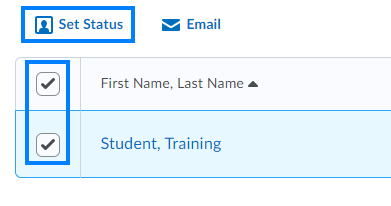
Alternatively, set the Attendance Status for students in bulk by selecting multiple students and clicking ‘SET STATUS’
Here is how to check to see if students have completed and submitted a quiz.
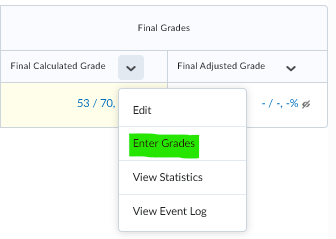
Click on ‘GRADES’ in the Blue Navigation Bar
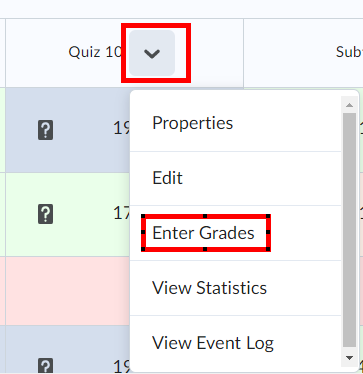
Find the quiz in the Grade book you are looking to check submission for
Click on the drop down arrow, select ‘Enter Grades’
Scroll down to the students name. Under the Submission Column, select the question mark with red dot.
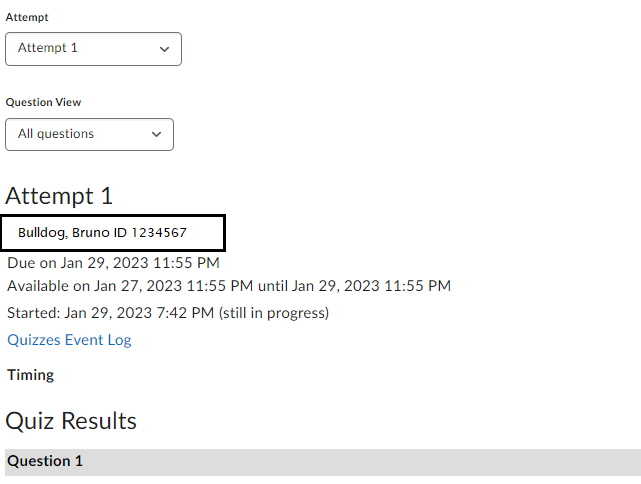
Under Attempt, select ‘Attempt 1’ and a new window will come up:
Where it says ‘Still in Progress’ is an indicator that the student has not yet completed or submitted the quiz. You can also click on the ‘Quizzes Event Log’ for more data. In this case, since the time to submit the quiz has passed, the student will not be able to finalize the submission process unless you provide special access to this student and change the availability date. You can also manually grade the quiz on this screen as well.
Quizzes have always been used in College level courses to assess student knowledge of the course information. However, with the way courses are changing to a more online delivery, it has become a concern that students can use internet resources like ChatGPT, to write, answer, and turn in work that may not be original. Respondus Lockdown Browser can help with these concerns.
When a quiz or a prompt for an essay question is accessed from the Learning Management System, LockDown Browser can prevent students from using unauthorized resources.
Here are the simple steps:
1- Create the quiz in the LMS– in our case this would be D2L
EX: For a short essay, create a quiz and use the “ESSAY” question type.
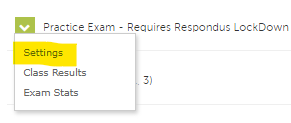
2- From the Lockdown Browser dashboard in D2L {seen below}
Locate the quiz name and select “SETTINGS”
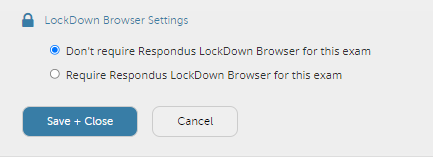
3- Then select “Require Lockdown Browser for this exam” and “Save + Close”
The assessment will now require students to use LockDown Browser.
When students access the quiz from the LMS, LockDown Browser will prevent them from switching applications, capturing screen content, or going elsewhere on the internet (unless the instructor allows it).
Turnitin users the link below may be of interest in helping with checking for AI writing detection capabilities:
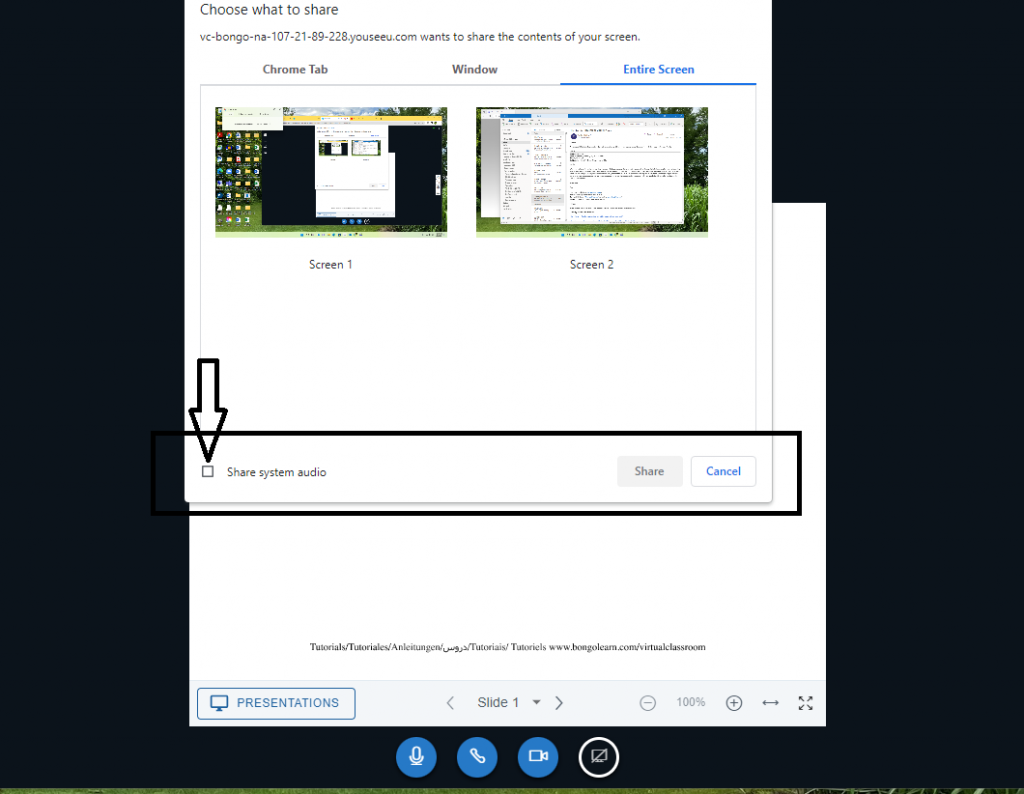
It has come to our attention that sometimes students in the virtual classroom Bongo meeting sessions cannot hear the audio when an instructor is sharing a video in the screen share feature. Examples of these videos being shared are YouTube videos, or possibly web sites with videos that deal with particular instruction from a course. Below is a picture of the box an instructor must check in order for the virtual students to hear the audio with the matching video, when screen sharing presentations.
EX: Screen Share page in Bongo Virtual Classroom
By checking this box, the instructor has now shared the corresponding Audio with Video being played in the Screen Share feature.
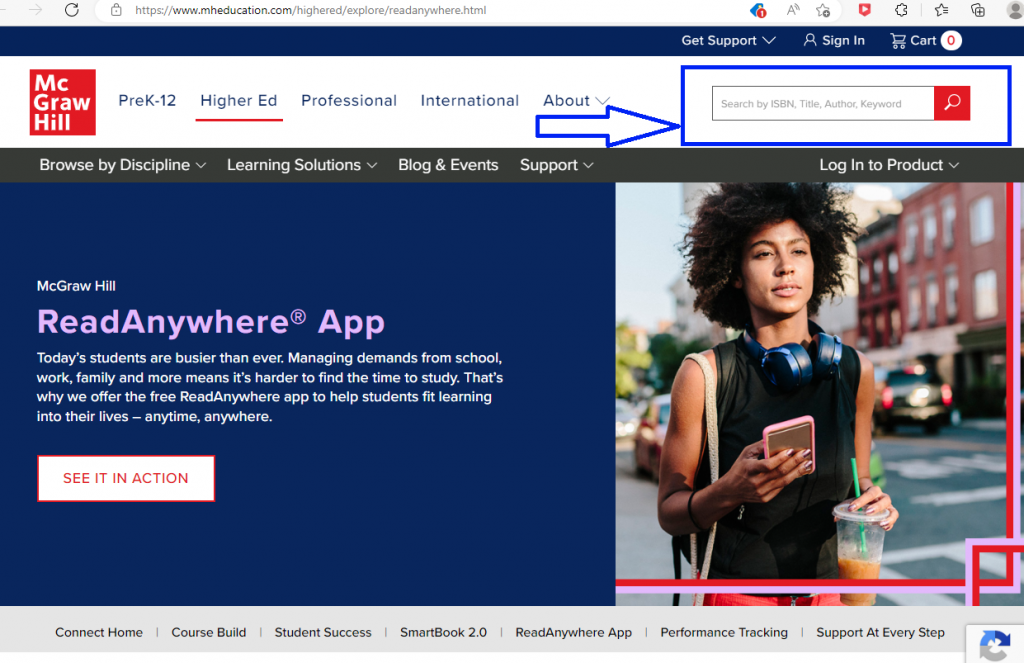
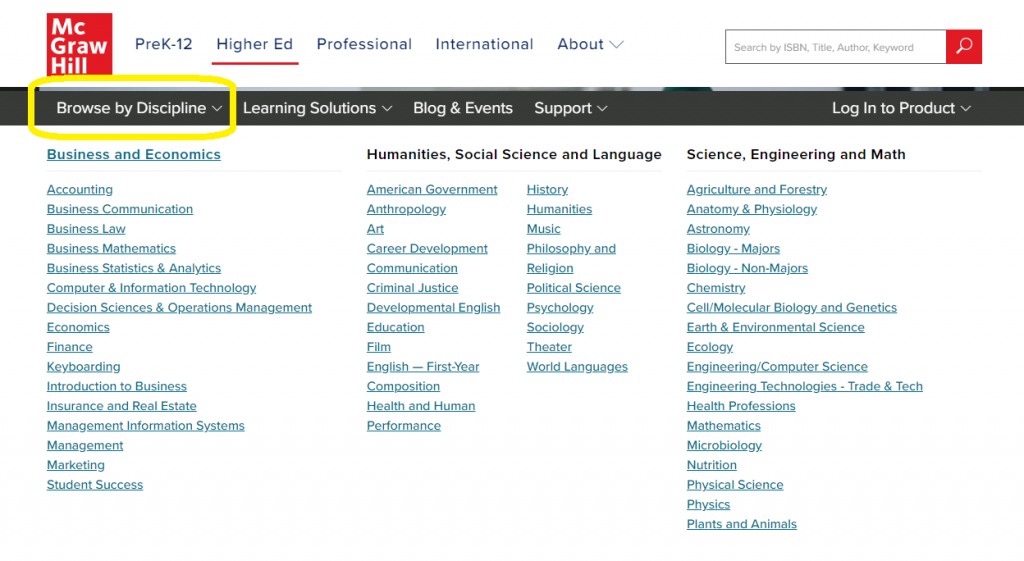
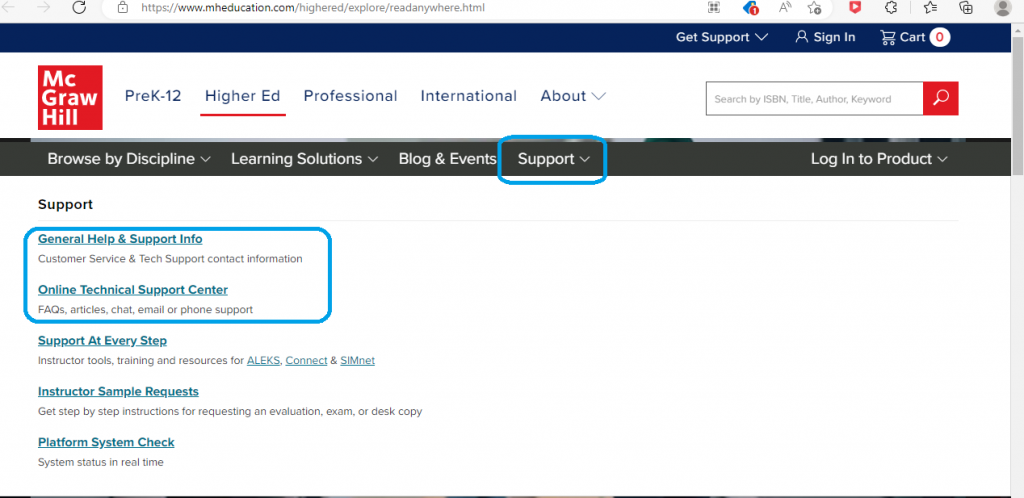
McGraw Hill Education platform has an app specifically tailored for today’s learner on the move. The ever growing demand for multiple strategies to help learners succeed in the constant change that is higher education, McGraw Hill’s ReadAnywhere® App is perfect for the learn anywhere, at anytime, college student of today. Take a look at the link below and click on the SEE IT IN ACTION box for a preview.